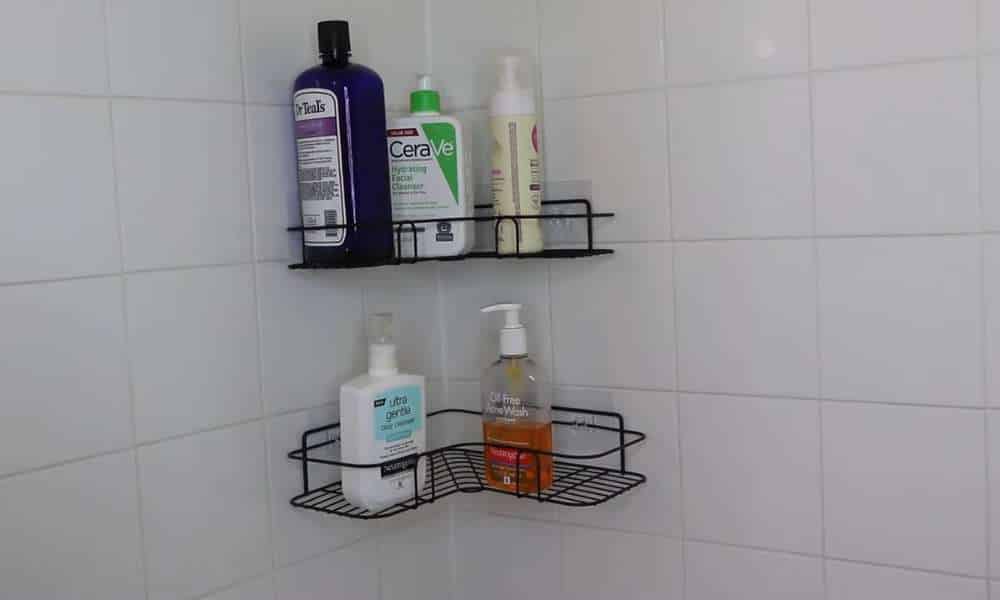
Hanging a shower caddy can be a direct yet major task that redesigns bathroom affiliation and solace. Whether you’re a DIY lover or plan to streamline your regular spring typically, the cycle incorporates key stages to ensure a strong and elegantly fulfilling foundation. From assessing and checking to exhausting and mounting, this guide will walk you through the one small step at a time bearings for capably hanging a shower caddie, allowing you to make a spotless and open storing reply for your spring essentials. Notice these direct guidelines, and in no time flat, you’ll have a valuable and perfectly organized shower space custom-fitted to your necessities.
1. Mark Openings, Drill, Addition Anchors, And Mount Caddy.
To begin the most widely recognized approach to hanging a shower caddy, start by meaning the specific spots where you want to present it. Using a level to ensure accuracy, mark the spots on the wall where you’ll exhaust. Once checked, carefully drill openings at the doled-out places, thinking about the right drilling contraption size for your anchors. Then, at that point, install the anchors securely into the infiltrated openings. Ties down give robustness and support to the screws, especially accepting that you’re joining the caddie to drywall. With the anchors set up, change the mounting areas of the give caddy the exhausted openings and secure it prepared by driving screws through the openings in the segments. This step ensures a strong beginning stage for your spring caddie, allowing you to participate in a productive and wreck-free shower knowledge.
2. Measure, Level, Drill, Secure, And Hang The Shower Caddy.
To achieve a faultlessly changed and secure foundation for your shower caddy, start by assessing the best level and distance from the showerhead. Use a level to ensure precision and engrave the spots where you hope to hang the caddy. Once stepped, proceed to exhaust openings at these relegated spots, thinking about the usage of a legitimate exhausting device for the wall material. Directly following fatigue, this present time is the ideal open door to get the caddie set up. Change the mounting areas with the exhausted openings and fix them securely using screws. Ensure that the caddie is level during this cycle to guarantee a captivating and valuable result. This cautious method for managing assessing, evening out, entering, getting, and hanging your spring caddie ensures areas of strength for an elegantly fulfilling extension to your shower space, giving supportive storage to your spring essentials.
3. Adjust, Drill, Introduce Snares, Hang Shower Caddy.
For a streamlined and effective cycle in hanging your shower caddy, begin by circumspectly changing it to the best position. Use a level to ensure that the caddie is straight before proceeding. Once changed, mark the regions for the catches that will maintain your caddy. Drill openings at these undeniable spots, contemplating the legitimate drilling device size for your picked catches. With the openings entered, present the catches securely, it is unflinchingly set up to guarantee they. Finally, hang your spring caddie onto the presented catches. This game plan, exhausting, catch foundation and hanging gathering ensures a consistent and proficient shower caddie that adds both convenience and smart temptation to your washing space.
4. Screw Anchors, Mount Sections, Hang Caddy.
To securely hang your shower caddy, start by screwing into the appointed regions on the wall. Ensure that the anchors are immovably gotten, giving a consistent foundation to your caddie. At the point when the anchors are set up, mount the segments onto them, changing them conclusively with the anchor centers. Fix the screws on the segments to get them undoubtedly to the wall. These segments go about as the assist structure for your spring with assisting. With the segments securely mounted, wrap your caddie onto them, promising it is level and stable. This technique for screwing gets, mounting segments, and hanging the caddie ensures a strong foundation, offering a reliable and composed limit reply for your shower basics.
5. Level, Imprint, Drill Openings, And Secure Caddy Snares.
Achieving a level and secure foundation for your shower caddy incorporates a productive system. Begin by using a level to ensure that your caddie will hang similarly. Mark the best regions for the catches on the wall, taking into account both the level and your specific tendencies for level and separating. Once checked, drill openings at these doled-out places, picking a fitting drilling device size for the kind of wall you are working with. In the wake of exhaustion, securely bring the caddie guides into the openings, which are firmly secured to confirm they. This wary mix of night out, stepping, exhausting, and catch foundation achieves an even and securely hung spring caddy, giving both convenience and an organized style to your washing space.
6. Find Studs, Drill, Supplement Screws, and Hang Caddy.
For a solid and reliable foundation for your shower caddy, begin by finding the studs in your washroom wall using a stud finder. At the point when you’ve perceived the studs, mark the circumstances for your caddie fittingly. Drill openings into the conspicuous spots, ensuring that you are infiltrating directly into the studs for the best assistance. In the wake of exhaustion, implant screws into the openings, securely getting them into the studs. These screws go about as the foundation for hanging your caddy. With the screws unequivocally set up, balance your caddy onto them, it is level and all-around maintained to promise it. This methodology for tracking down studs, exhausting, implanting screws, and hanging the caddie guarantees areas of strength that can persevere through the greatness of your spring basics, giving a reliable and facilitated limit game plan in your washroom.
7. Measure, Imprint, Drill, Connect Snares, Hang Caddy.
To ensure a careful and fruitful foundation for your shower caddy, begin by assessing the best level and isolating. Mark these assessments on the wall, changing the caddie to your tendencies. Directly following checking, circumspectly drill openings at the relegated places, using a sensible drilling device for the wall type. With the openings organized, add the catches securely to the wall, ensuring they are emphatically gotten. These catches go about as the assistance structure for your caddy. At the point when the catches are set up, hang your shower caddie onto them, guaranteeing it lines up with the engravings and is level. This cautious course of assessing, checking, exhausting, joining catches, and hanging the caddie achieves a productive and securely presented limit reply for your spring essentials.
8. Embed Screws, Fix Sections, And Hang Shower Caddy.
Begin the foundation of your shower caddie by installing screws into the relegated regions on the wall, ensuring they are solidly gotten. These screws will go about as the anchors for the areas of your caddy. Fix the areas onto the screws, changing them absolutely with the anchor centers. Fix the screws on the segments securely to make a consistent assistance structure. With the segments decidedly fixed, hang your spring caddie onto them, it is level and all-around maintained to guarantee it. This method for installing screws, fixing segments, and hanging the caddie ensures a strong and strong foundation, offering a planned and open response for taking care of your shower essentials.
9. Adjust Openings, Drill, Addition Screws, Hang Caddy.
Achieving a strong and particularly changed foundation for your shower caddy incorporates an exact philosophy. Begin by changing the caddie to your leaned-toward region, it is level and fascinating to promise it. Once changed, mark the spots for infiltrating. Warily drill openings at these appointed spots, using the fitting drilling contraption for your wall type. Following infiltrating, insert screws into the openings, getting them solidly to make a consistent foundation. These screws go probably as the anchors for hanging your caddy. With the screws set up, hang your shower caddie, promising it lines up with the exhausted openings and is level. This technique for changing openings, exhausting, implanting screws, and hanging the caddie achieves a proficient and securely mounted limit reply for your shower nuts and bolts.
10. Secure Sections, Mount, Change, And Hang The Shower Caddy.
For a protected and portable foundation for your shower caddie, start by securely tying down the segments to the wall. Guarantee the segments are agreed with your best case scenario and fix them set up with screws, giving a consistent basis. Mount the caddie onto the segments, ensuring a comfortable fit. If the caddy has adjustable components, put away an edge to roll out any essential improvements to your advantage. Assert that the caddie is level and securely added to the areas. This critical course of getting areas, mounting, changing, and hanging your shower caddie ensures a productive and versatile limit game plan in your shower space, offering both sensibility and sleek charm.
Conclusion
Hanging a shower caddy is a reasonable task that can deal with the value and productivity of your bathroom. By following the outlined advances, you’ve ensured a protected and stable foundation as well as modified your shower space to take extraordinary consideration of your progressive tendencies. The work put assets into assessing, entering, and mounting will point of fact pay off as you participate in the solace of having your shower nuts and bolts inside straightforward reach. With a suitably presented shower caddie, you’ve added sensibility to your everyday timetable as well as added to the overall neatness and capability of your bathroom. As of now, step into your effective shower space and relish the ease of a chaos-free and lovely washing experience.