Cleaning an upholstered headboard can rejuvenate the look of your bedroom And Create a fresh, inviting atmosphere. Over time, Dust, Stains, And Odors can accumulate on this often-overlooked piece of furniture. Fortunately, With the right techniques And A bit of care, you can easily restore your headboard to its former glory. In this guide, We’ll walk you through the step-by-step process of how to clean an upholstered headboard, Ensuring it not only looks pristine but also maintains its comfort and durability. Let’s get started on revitalizing your sleeping space.
Why cleaning your upholstered headboard is important
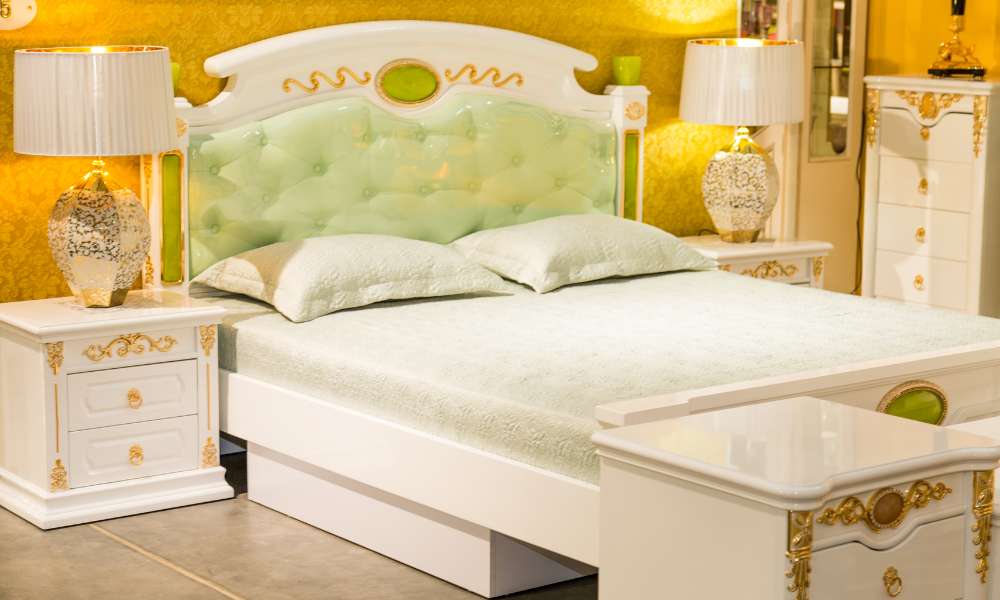
Cleaning your upholstered headboard is essential for maintaining a healthy And Aesthetically pleasing bedroom environment. Over time, Dust, Allergens, And Sweat can accumulate on the fabric, Leading to potential health issues, Such as allergies or respiratory problems. Moreover, Stains And Odors can develop, Diminishing the overall appeal of your room. Regular cleaning not only ensures a fresh And Hygienic sleeping space but also prolongs the life of your headboard, clean an upholstered headboard Preventing the need for costly replacements. By prioritizing the cleanliness of your headboard, You create a more comfortable And Visually appealing bedroom, Promoting a restful And Rejuvenating atmosphere.
Here Are Some Steps To Clean An Upholstered Headboard
Step 1: Preparing The Area And Gathering Supplies
Preparing the area and gathering supplies is a crucial first step when it comes to cleaning an upholstered headboard. Before you begin, make sure the surrounding area is clear of any furniture or objects that may hinder your movement. It’s also a good idea to protect the floor with a drop cloth or plastic sheeting to prevent any accidental spillage from staining your flooring.
As for the supplies, It’s essential to gather all the necessary tools before diving into the cleaning process. A vacuum cleaner with upholstery attachments will come in handy for removing loose dirt and debris from the headboard. Additionally, have a bucket filled with warm water, Mild detergent, And a soft microfiber cloth or sponge ready to scrub away any stains or spots on the fabric.
Step 2: Vacuuming The Headboard To Remove Dust
Vacuuming the headboard is a simple yet effective method of removing dust And Maintaining a clean And Hygienic bedroom. Dust tends to settle on all surfaces over time, And The headboard is no exception. Regular vacuuming not only helps eliminate dust but also prevents allergens from spreading in your sleeping environment.
Vacuuming your headboard offers more than just cleanliness; it can refresh the overall aesthetic of your bedroom. Over time, Dirt particles may discolor or dull the fabric covering your headboard, Making it lose its original appeal. By including this task in your cleaning routine, You can revive the color And Texture of your upholstered headboard, clean an upholstered headboard adding vibrancy to your space once again.
Step 3: Spot Treating Any Stains Or Spills
One common challenge is dealing with stains And Spills. The key is to act promptly And Spot-treat the affected area. Begin by gently blotting the stain with a clean cloth or paper towel to absorb as much liquid as possible. Avoid rubbing or scrubbing, as this can push the stain deeper into the fabric fibers.
Next, Assess the type of stain you’re dealing with to determine the best approach. For water-based stains like coffee or wine, Create a solution using mild dish soap And Warm water. Lightly dampen a clean cloth with the solution And Dab at the stain in a circular motion. Be cautious not to oversaturate the fabric; instead, Work in small sections And Repeat if necessary.
Step 4: Deep Cleaning With A Fabric Cleaner
Deep cleaning of an upholstered headboard is essential to maintaining its appearance And Longevity. Using a high-quality fabric cleaner not only removes surface dirt but also penetrates deep into the fibers, Eliminating stubborn stains And Odors. It’s important to choose a cleaner specifically designed for upholstery, As these products are gentle enough to protect the fabric while effectively lifting dirt And Grime.
Step 5: Brush Upholstery Fibers
One of the most effective tools you can have in your arsenal is a brush with the right type of upholstery fibers. A high-quality brush can make a world of difference in not only removing surface dirt And Debris but also revitalizing the fabric And Extending its lifespan.
One important consideration when choosing a brush for upholstery cleaning is the type of fibers it has. Look for brushes made with soft bristles that won’t damage or scratch delicate fabrics like silk or velvet. These brushes are typically made from natural materials like horsehair or specialty synthetic fibers designed to be gentle yet effective.
Step 6: Protect Fabric With Spray
The secret to keeping your upholstered headboard looking fresh And pristine lies in using a fabric spray protector. This simple yet effective product acts as a shield against spills, stains, And Daily wear And Tear. Creating an invisible barrier on the fabric surface, it prevents liquids from seeping into the fibers And Causing permanent damage.
One of the key benefits of using a fabric spray protector is its ease of application. With just a few spritzes, You can cover the entire surface. The formula dries quickly, leaving no trace behind and allowing you to enjoy your newly refreshed bed almost immediately. Moreover, these protectors are suitable for all types of fabrics, ensuring that your headboard remains protected regardless of its material.
Step 7: Reassemble Headboard
Once your headboard is fresh And Clean, Carefully lay out all the pieces And Hardware required for reassembly. This step helps ensure that you have everything you need before you start putting everything back together. Begin by attaching the side panels to the main frame of the headboard using the provided screws or bolts. Make sure to tighten them securely, But avoid overtightening, As this may damage the upholstery fabric.
Step 8: Drying And Fluffing The Upholstery
Once you’ve deep-cleaned your upholstered headboard, The next crucial step is drying And Fluffing it properly. Drying is essential to prevent mold or mildew growth, As upholstery tends to retain moisture. Start by using a clean, Dry towel to blot any excess water from the surface of the headboard. Ensure proper ventilation in the room to speed up the drying process. You may also use a fan or open windows to let fresh air circulate around the upholstery. If you’re in a hurry, you can employ a hairdryer on low heat, But maintain a safe distance from the fabric.
Step 9: Maintain Regular Cleaning
Keeping your home clean And Well-maintained is an essential aspect of comfortable living. While we often focus on tidying up the floors And Surfaces, One area that is frequently overlooked in our cleaning routine is the upholstered headboard on our beds. It adds both style And Comfort to a bedroom, but without regular cleaning, It can become a breeding ground for dust mites, Allergens, And Even bed bugs.
Conclusion
Cleaning an upholstered headboard is a simple And Effective way to maintain its beauty And Prolong its lifespan. By following the steps outlined in this article, you can easily remove dirt, stains, And Odors from your Head board, Restoring it to its original condition. Regular Maintenance And Care will also help prevent allergens And Mold from accumulating on the fabric. Remember to use gentle cleaning solutions And Avoid excessive moisture to protect the integrity of the upholstery. So go ahead, Give your head board the attention it deserves, And Enjoy a fresh And Clean sleeping environment tonight!