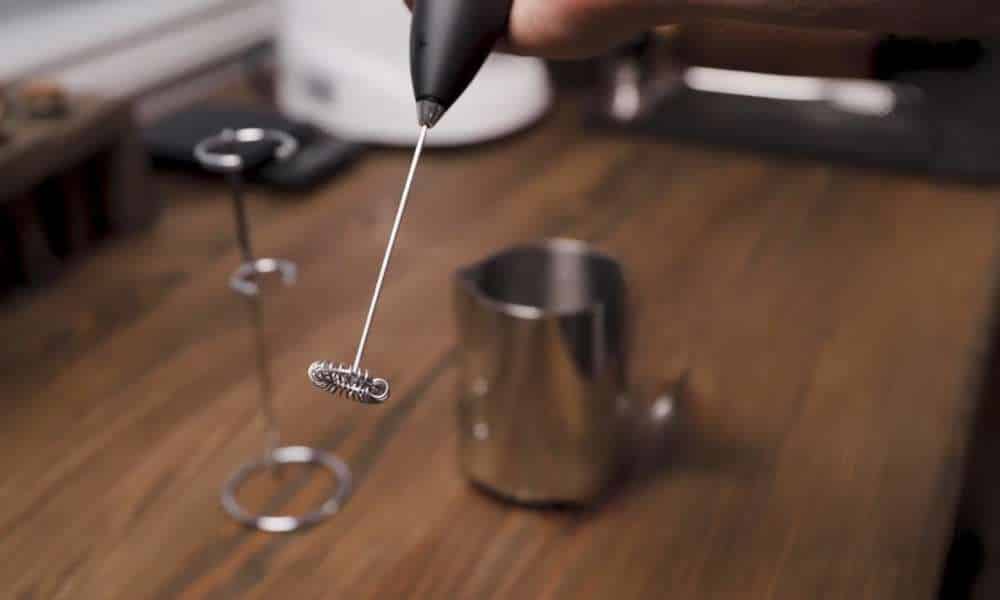
Keeping your milk frother wand pristine is essential for maintaining the quality and flavor of your favorite frothy beverages. Whether you’re a seasoned barista or a casual coffee enthusiast, knowing how to properly clean your milk frother wand is paramount. Neglecting this task can lead to a buildup of milk residue, affecting both taste and hygiene. In this guide, we’ll explore effective techniques and tips to ensure that your milk frother wand remains in optimal condition, allowing you to enjoy perfect-frothed milk every time. Let’s delve into the art of cleaning your milk frother wand with precision and ease.
How To Clean Milk Frother?
To effectively clean a milk frother, start by preparing the wand, detaching it from the frothing pitcher or machine, and allowing it to cool down. Next, wipe down the exterior with a damp cloth and mild detergent, paying attention to any stubborn stains. Then, immerse the wand in a cleaning solution for the recommended duration, scrubbing the interior with a soft brush to remove any milk residue. Rinse the wand thoroughly with water and ensure it’s completely dry before reassembly. Regular cleaning ensures hygiene and optimal frothing performance, prolonging the lifespan of your milk frother.
Why Cleaning Is Essential?
Maintaining a clean milk frother wand is paramount for several reasons. Firstly, it ensures hygiene by preventing the buildup of bacteria and mold that can accumulate in the residues left behind by milk. Secondly, a clean wand guarantees optimal frothing performance, as any leftover milk residue can interfere with the frothing process, resulting in uneven or subpar froth. Lastly, regular cleaning prolongs the lifespan of your frother wand, saving you from premature replacements and ensuring consistent performance over time.
Step-By-Step Cleaning Process
1. Preparing The Frother Wand
Before diving into the cleaning process, it’s essential to prepare the frother wand properly. Start by unplugging the frother and allowing it to cool down completely if it has been recently used. This prevents accidental burns and ensures safe handling during cleaning. Next, detach the frother wand from the frothing pitcher or machine according to the manufacturer’s instructions. This step is crucial as it allows for easier access to all parts of the wand, ensuring a thorough cleaning. If applicable, remove any detachable components such as frothing attachments or covers for a more comprehensive clean. With the wand prepared, you’re now ready to proceed with the cleaning process to ensure your frother remains in top-notch condition.
2. Cleaning The Exterior
Once the frother wand is detached and ready for cleaning, the next step is to focus on cleaning the exterior surfaces. Start by wiping down the wand with a damp cloth or sponge to remove any visible milk splatters or residue. Pay close attention to any crevices or grooves where milk residue may accumulate. For stubborn stains or dried-on milk, use a mild detergent or cleaning solution recommended by the manufacturer. Gently scrub the exterior surfaces with a soft brush or cloth to lift off the stains without damaging the wand’s finish. Rinse the wand thoroughly with clean water to remove any soap residue, and then dry it completely with a clean towel before moving on to the next step.
3. Cleaning The Interior
After addressing the exterior, it’s time to clean the interior of the frother wand to ensure thorough hygiene and optimal performance. Begin by preparing a cleaning solution of warm water and mild detergent or specialized frother cleaner, following the manufacturer’s instructions for dilution ratios if applicable. Fill a container large enough to submerge the frother wand with the cleaning solution. Carefully immerse the wand in the solution, ensuring that all parts are fully submerged. Allow the wand to soak for the recommended duration to loosen any milk residue or buildup inside.
After soaking, use a soft brush or sponge to gently scrub the interior surfaces of the wand, paying special attention to the frothing tip and any small openings where residue may accumulate. Once cleaned, rinse the wand thoroughly with clean water to remove any remaining detergent or cleaner residue. Finally, dry the interior of the wand completely before reassembling and storing it for future use. By following these steps, you can ensure that your milk frother wand remains clean, hygienic, and ready to deliver perfect-frothed milk every time.
4. Rinsing Thoroughly
After completing the cleaning process, it’s crucial to rinse the frother wand thoroughly to remove any traces of cleaning agents or residue. Rinse the wand under running water, ensuring that all detergent or cleaner is washed away completely. Pay close attention to the frothing tip and any small openings to ensure thorough rinsing. Additionally, consider using a clean cloth or sponge to wipe down the wand once more with plain water to ensure no cleaning residue remains. Proper rinsing not only helps maintain the cleanliness of the frother wand but also prevents any potential contamination of your frothed milk with residual cleaning agents.
Conclusion
Mastering the art of cleaning your milk frother wand is essential for maintaining hygiene, ensuring optimal frothing performance, and prolonging the lifespan of your equipment. By following the step-by-step cleaning process outlined above, including preparing the wand, cleaning the exterior and interior, and rinsing thoroughly, you can keep your frother wand in top-notch condition. Regular cleaning not only guarantees delicious and hygienic frothed milk but also ensures consistent performance over time. With proper care and attention, your milk frother wand will continue to serve you well, allowing you to enjoy perfect frothy beverages whenever the craving strikes.
