Enhance your outdoor ambiance by mastering the art of replacing an outdoor bright cane and fixture. Outdoor lighting not only elevates the aesthetic appeal of your space but also contributes to safety and functionality. How to replace an outdoor light pole and fixture in this comprehensive guide, we’ll walk you through the step-by-step process, ensuring a seamless transition from the old to the new. From essential safety precautions to gathering the right tools and materials, turning off power, and making proper connections, you’ll gain the knowledge and confidence to revitalize your outdoor lighting effortlessly. Illuminate your surroundings with style and practicality as we illuminate the path to a successful light pole replacement.
Safety Precautions
Prioritize safety as you embark on the journey to replace your outdoor bright cane and fixture. Begin by switching off the power at the circuit breaker to prevent electrical accidents. Use insulated tools to reduce the risk of electric shock, and always wear appropriate safety gear, including gloves and safety glasses. Before dismantling the old fixture, ensure it is completely disconnected from the power source. If you encounter any complications, consult a professional electrician. Work in optimal weather conditions, avoiding rain or extreme temperatures. Secure the area with caution signs or barriers to alert others. By adhering to these safety precautions, you create a secure environment, allowing for a smooth and incident-free outdoor lighting upgrade.
Gathering Tools and Materials
Prioritize safety as you embark on the journey to replace your outdoor light pole and fixture. Begin by switching off the power at the circuit breaker to prevent electrical accidents. Use insulated tools to reduce the risk of electric shock, and always wear appropriate safety gear, including gloves and safety glasses. Before dismantling the old fixture, ensure it is completely disconnected from the power source. If you encounter any complications, consult a professional electrician. Work in optimal weather conditions, avoiding rain or extreme temperatures. Secure the area with caution signs or barriers to alert others. By adhering to these safety precautions, you create a secure environment, allowing for a smooth and incident-free outdoor lighting upgrade.
Turning Off Power
Turning off power is a crucial step in replacing your outdoor bright pole and fixture, ensuring a safe and efficient process. Begin by locating the circuit breaker panel and identifying the correct breaker for the outdoor lighting. Turn off the designated breaker to cut off the electricity supply to the fixture. Use a voltage tester to double-check that the power is indeed disconnected before proceeding. This precautionary measure mitigates the risk of electrical shock and ensures a secure working environment. Take the time to inform household members or neighbors about the power interruption to prevent accidental reconnection. By prioritizing this step, you lay the foundation for a smooth and hazard-free transition during the replacement process.
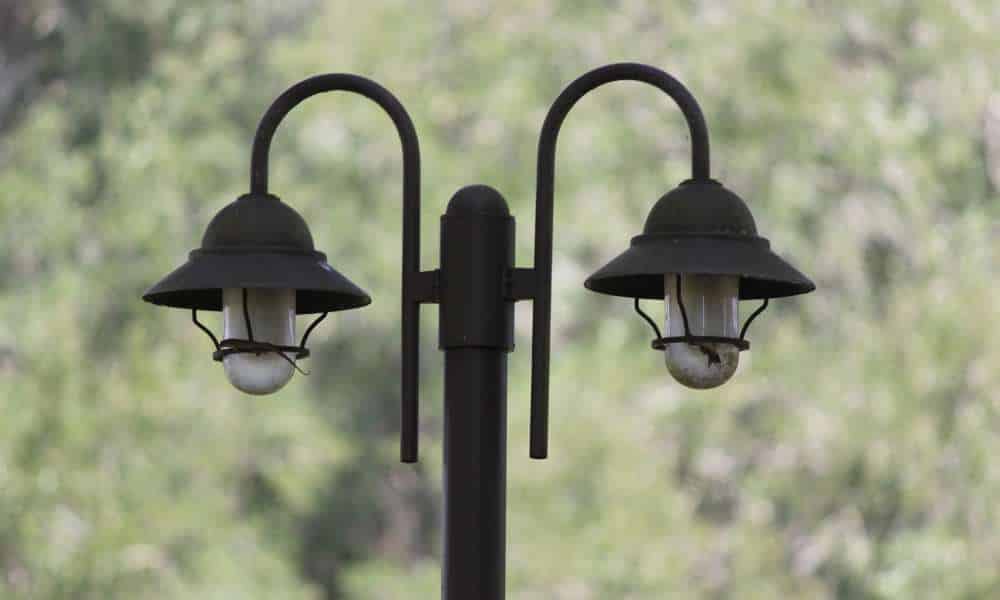
Removing the Old Fixture
As you embark on replacing your outdoor bright cane and fixture, the pivotal phase of removing the old fixture demands precision and care. Begin by disconnecting any wiring, ensuring a safe release from the power source. Utilize appropriate tools to dismantle the fixture, paying close attention to screws, nuts, and bolts. replace an outdoor light pole and fixture If the pole is embedded, carefully loosen and extract it from the ground. Inspect the fixture for any signs of wear or damage, making note of replacement requirements. Dispose of old components responsibly, adhering to local regulations. This meticulous removal process sets the stage for a seamless transition to the new fixture, allowing you to enhance your outdoor lighting with efficiency and attention to detail.
Installing the New Pole and Fixture
With the old fixture removed, installing the new outdoor bright pole and fixture brings your revitalized outdoor space to life. Begin by securing the new pole in the designated area, ensuring it is firmly anchored. Follow manufacturer instructions to attach the fixture securely, taking care with wiring to guarantee a safe and reliable connection. Utilize appropriate tools to fasten screws, ensuring stability. Position the fixture at the desired height and angle for optimal illumination. This transformative step not only enhances aesthetics but also elevates the functionality of your outdoor lighting, creating a welcoming and secure environment for your home.
Wiring and Connections
Wiring and connections are pivotal in ensuring the seamless functionality of your newly installed outdoor bright cane and fixture. Start by carefully threading the wiring through the pole, following manufacturer guidelines for a secure fit. Connect the wires, matching colors meticulously to avoid electrical issues. Utilize waterproof connectors or electrical tape to shield connections from the elements. Safeguard exposed wiring by bundling and securing it along the pole’s interior. Conduct a thorough inspection to confirm all connections are tight and protected. Prioritize precision to mitigate potential hazards and guarantee a reliable and durable outdoor lighting system. This meticulous approach to wiring and connections is fundamental in optimizing the performance of your illuminated outdoor space.
Testing and Final Adjustments
Upon completing the installation of your outdoor light cane and fixture, the crucial phase of testing and final adjustments ensures optimal performance. Switch on the power and carefully test the bright to confirm functionality. Assess the brightness and positioning, making any necessary final adjustments to achieve the desired illumination. Address any flickering or unusual behavior promptly, checking wiring and connections if needed. Verify that the fixture aligns with your aesthetic preferences and serves its intended purpose, whether for security or ambiance. Take the time to appreciate your revamped outdoor space and bask in the warm glow of a successfully replaced light pole, knowing that attention to detail has resulted in a well-lit and inviting environment.
Conclusion
The process of replacing an outdoor bright pole and fixture transforms your outdoor space, blending functionality with aesthetics. By prioritizing safety measures, meticulous removal of the old fixture, and precise installation of the new components, you create a secure and visually appealing environment. Thorough attention to wiring and connections ensures reliable performance, while testing and final adjustments guarantee optimal illumination. Embrace the renewed ambiance of your outdoor area, knowing that your commitment to this DIY project has not only enhanced curb appeal but also contributed to the safety and enjoyment of your home. Illuminate your surroundings with confidence and style.